Replacing an MGB Fuel Tank
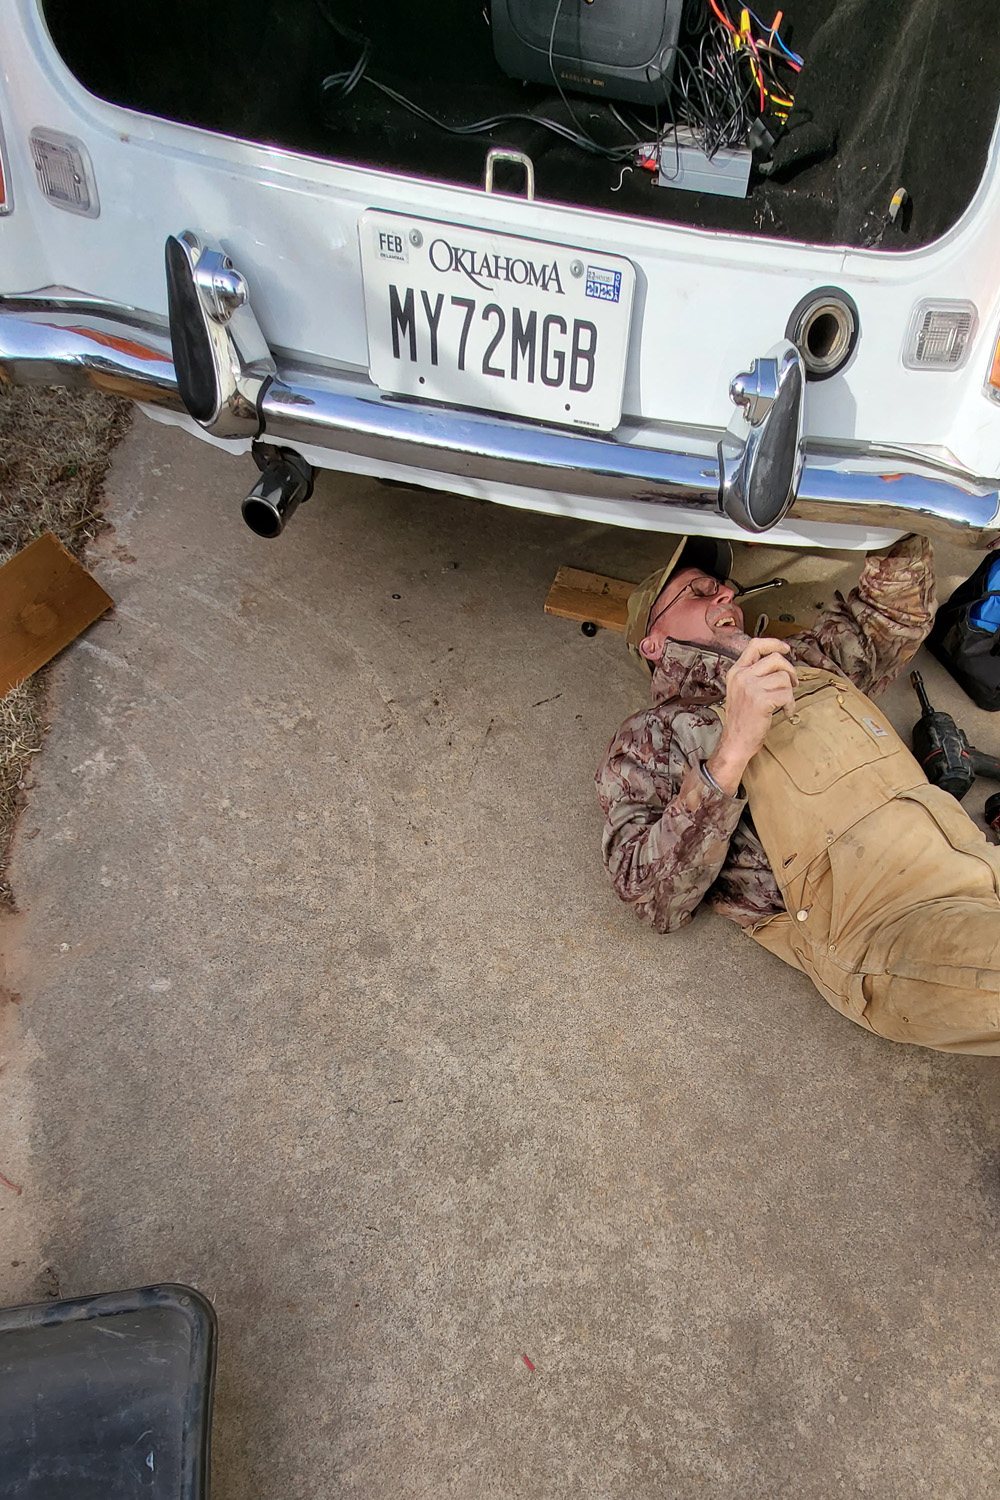
Spent a nice Saturday afternoon replacing Pearline’s fuel tank, with help from a friend.
This post will be a bit different. Less of a narrative of the experience and more of a “how to”. There will be bits of my self here, but the hope is to pass along this knowledge to possibly the next newbie.
Also, I recognize that I’m mixing tense and person in this post. It’s stream-of-consciousness writing. It’s not going into a peer-reviewed journal, so I’m confident the point will be made.
After my unplanned tow trip, I consulted with the experts on MGExp. The advice was split between the rust in the tank causing the engine to stop and taking the electrical with it versus the coil went bad from last summers’ heat issues causing the fuel pump to stop working. I already had the replacement fuel tank in my garage and I ordered a Pertronix Flame Thrower coil after attempting (and failing) to find the gold standard Bosch Blue 00012 anywhere in North America.
During the week, I prepped by watching a few videos of people changing their MGB tanks. There are several on YouTube, but I like the one below from Steve Denton the best. He doesn’t have a lot of useless narration about unrelated stuff, although you have to pay attention to what he’s doing to catch the details.

Since I’m not a diagnostic mechanic, but I can change parts, I set the following Saturday aside for working on the car. Temps were in the low 60’s (16C) and a few wispy clouds. A good day to work out in the open. I was getting Pearline’s tank drained when my friend Todd called. Todd is a rancher and he carries a mobile shop in the back of his pickup. In exchange for a promise of a grilled steak, he offered to help.
What You’ll Need
I ordered the following parts from Jeff Zorn at LBCarCo. Jeff usually is 10% cheaper than Moss Motors and he ships a few days quicker. His website is a bit old-fashioned, but you can search using Moss 6-digit part numbers.
280-300 x 1 - STRIP, RUBBER, PACKING    MGT, MGA, MGB
282-930 x 1 - SEAL TANK TO TRUNK
293-410 x 1 - GASKET, FUEL SENDER
323-628 x 1 - MOUNT KIT, GAS TANK
328-280 x 1 - PLUG
360-661 x 1 - SENDING UNIT,FUEL, SOLID STATE
471-204 x 1 - FUEL TANK, REPLACEMENT
As you’ll read below, there is one part I failed to order and should’ve.
360-665 x 1 - SENDING UNIT LOCK RING
Before You Start
Insert standard safety disclaimer here.
I started by chocking the front tires, in front and back of the tires.
I used my floor jack to raise the rear end and put the vehicle on jack stands under the rear axle, as close to the wheels as I could get. Then, I removed the floor jack.
Step by Step
-
I started off by draining the tank. It was about half full from the dash guage, so about 6 gallons (at $4.00/gallon). Some people use a siphon and I started off doing that as well. The siphon wasn’t going fast enough for my liking, so I put an oil pan under the tank and cracked the drain plug at the bottom of the tank, which went faster. Once empty, I drained the oil pan into a pair of 5 gallon (20L) fuel cans for later disposal.
-
Remove the fuel supply hose from the gas cap at the back. This was a couple of spring clamps loosened with a flat screwdriver. Underneath the hose is a vent line that is held with a 9/16” nut. Remove these from the tank and move out of the way.
-
There were 2 wires on the sending unit on the right hand side of the tank (looking from behind). The green is positive. The replacement sending unit had 3 posts, but one was covered. I guessed that the covered post isn’t used and that seems to be the correct guess, based on posts on MGExp. The ground goes in the middle and the green wire on the other uncovered post.
-
The fuel pump supply line on the right side used a 5/8” wrench/spanner to loosen. Once these connections were off, we started on the underside bolts.
-
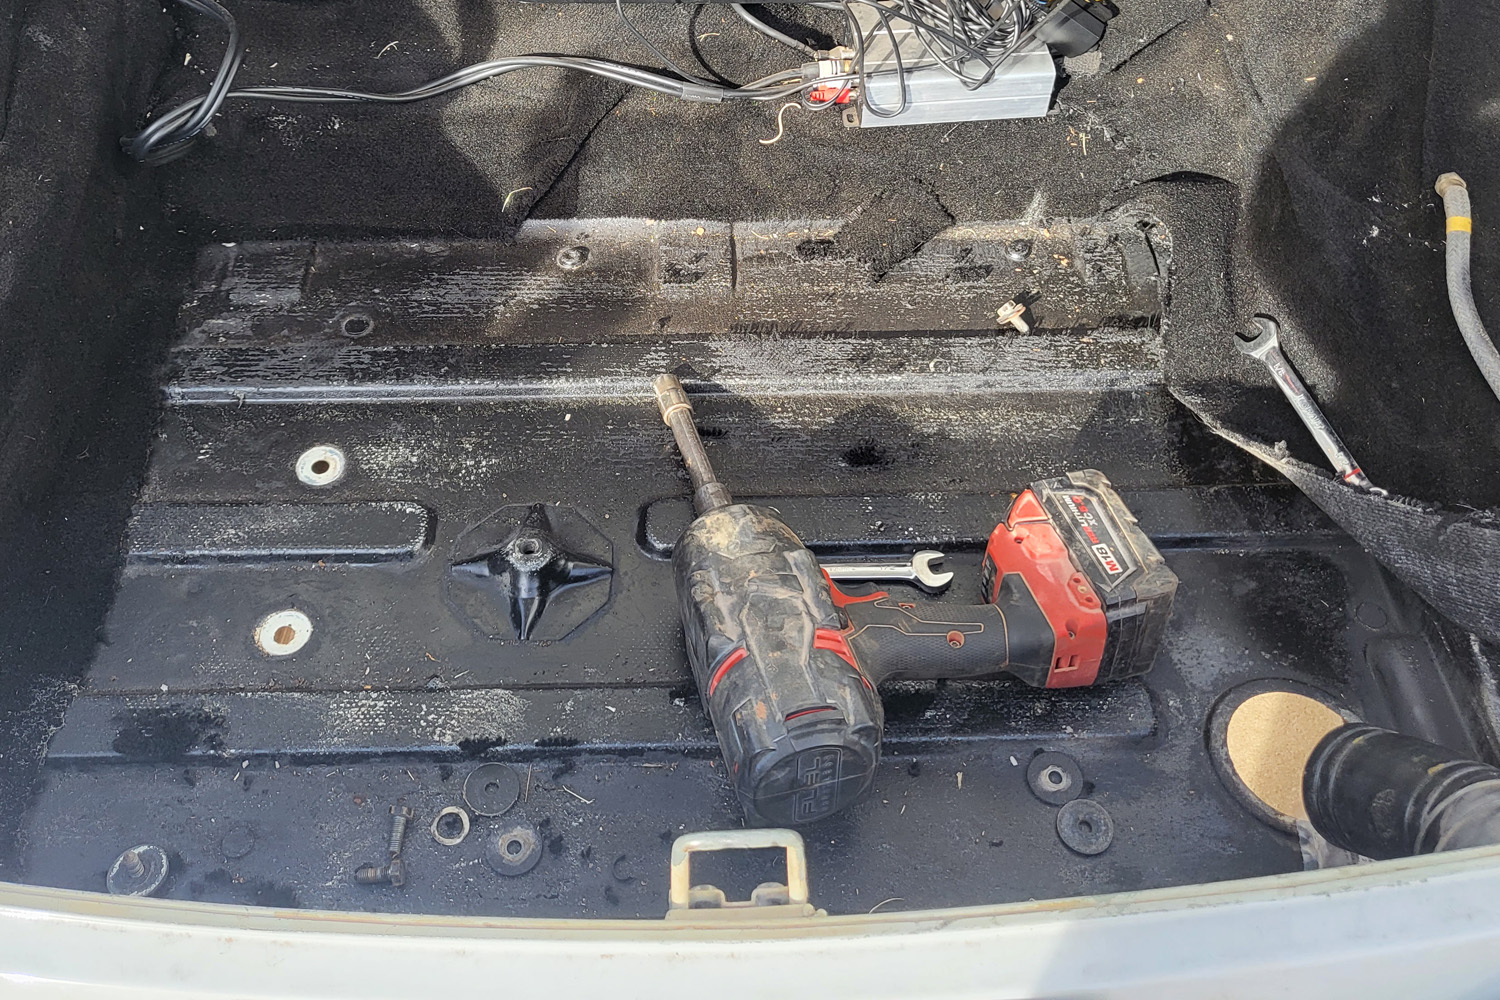
The tank is held by nine bolts with a 9/16” nut. Four on the left, three on the right, and two along the rear. Four are accessed from under the tank and you’ll need an extension to reach them. Todd had a cordless impact wrench, which made this process much simpler than using a hand wrench. Don’t use a regular drill for this or you’ll likely break your wrist. The underside bolts are the 2 on the back, the 1 middle on the left side, and the 1 middle on the right side.
Wear safety goggles. Trust me, there’s lots of dirt under there. You don’t want it in your eyes.
-
Get a 1 foot (30cm) square piece of plywood or a 3 foot (90cm) piece of 2” (5cm) lumber. Using your floor jack, snug the wood under the tank so it doesn’t fall when you loosen the top bolts. Don’t jack the wood up too far, just enough to hold the tank.
-
Loosen the top bolts and remove. The tank shouldn’t fall because of the floor jack. You’ll want to slowly bleed off the floor jack and probably need to wiggle the tank toward the left side to get it to come loose. Without fuel, the tank isn’t so heavy–a single person can handle it.
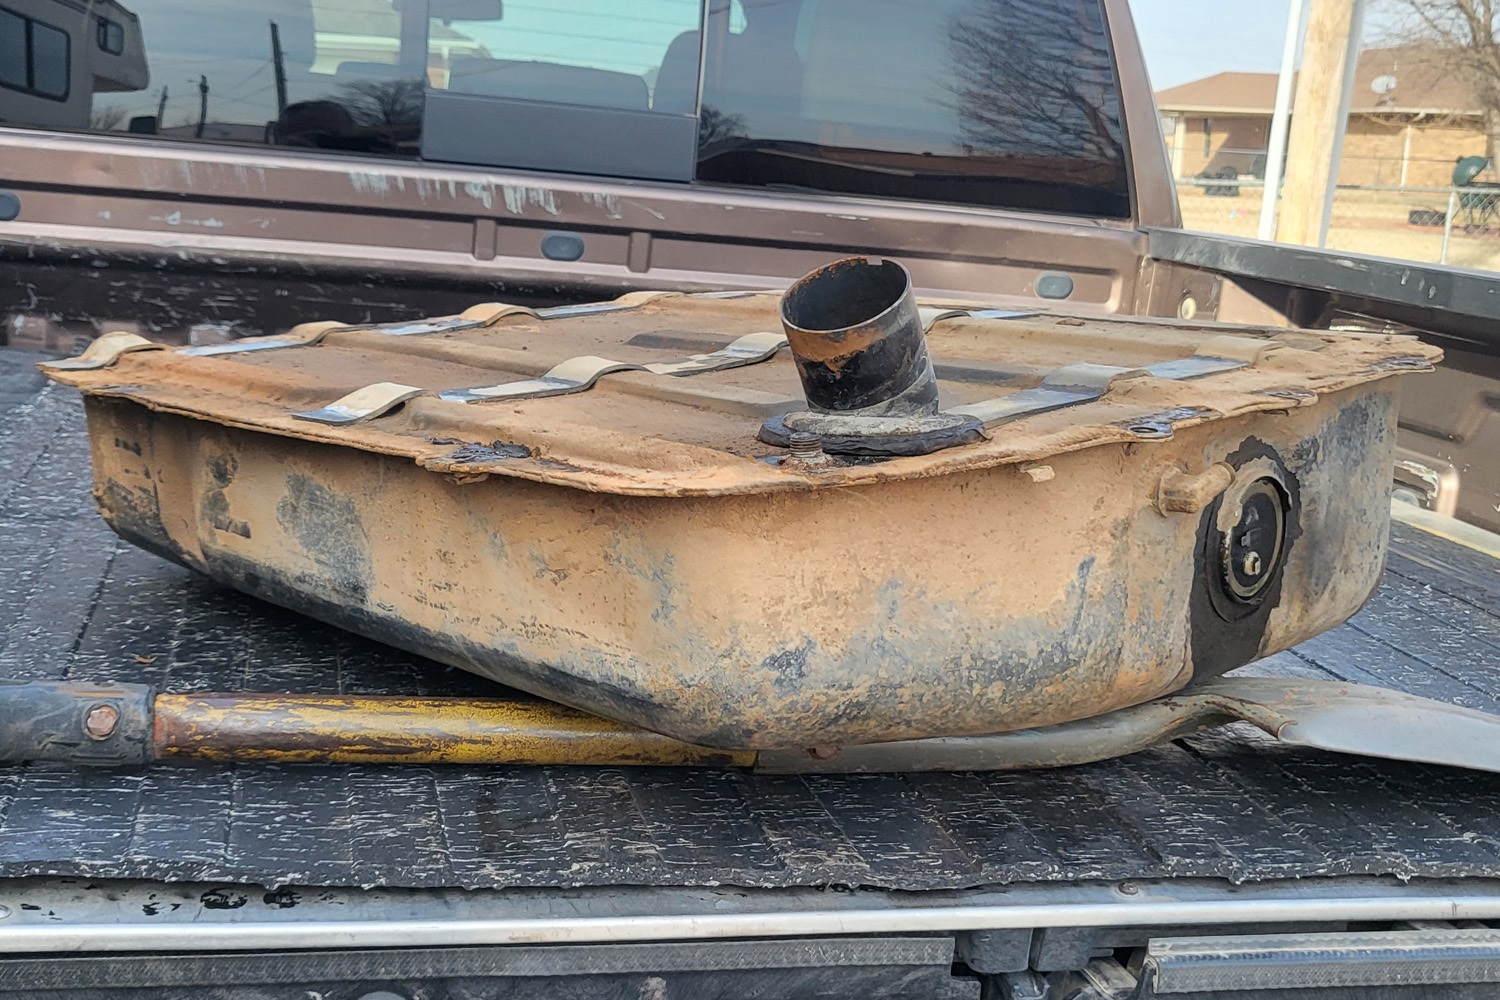
At this point, I realized that I failed to order a part–the ring that holds the sending unit into the side of the tank (Moss no. 360-665). We scavenged the one off the old tank. This ring comes off with a flat blade screwdriver or a punch or chisel, gently tapped counter-clockwise with a hammer. Fortunately, it was intact and could be reused.
-
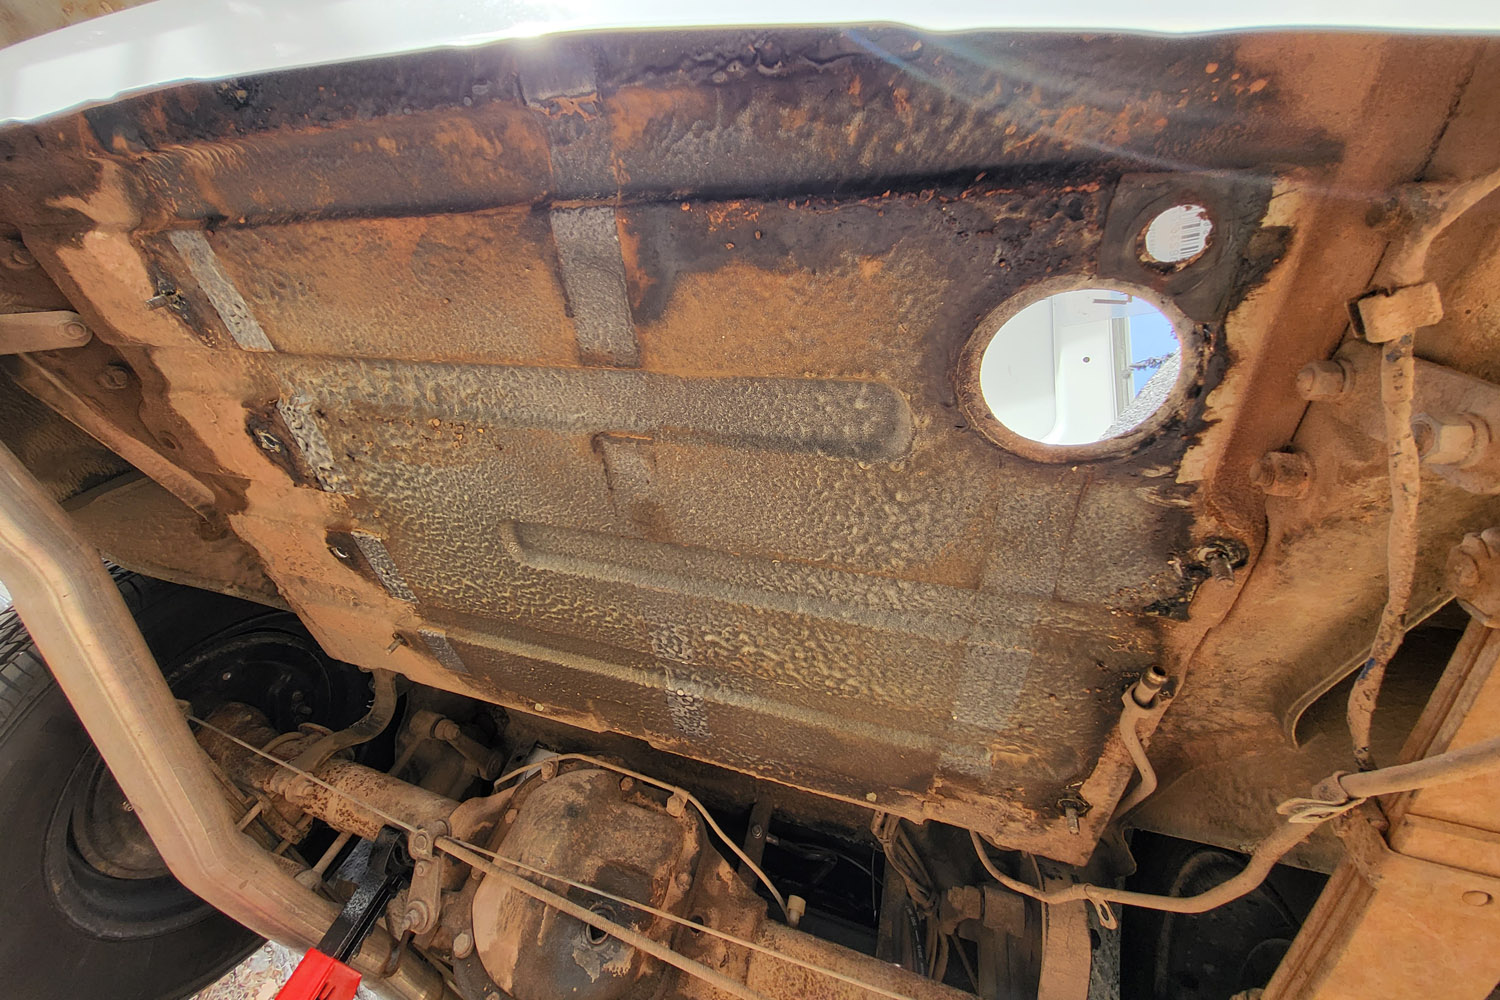
With the tank off, clean the area where it went. Take a wire brush or a drill with a wire head to remove the dirt and grease. Again, wear safety goggles. If your vehicle has an undercoating, like mine does, you probably won’t need to do any more than this. If there’s not a coating, use some rust-resistant paint, such as Rustoleum or Chassis Black.
The replacement tank I received had a few slight bends where the mounting holes were. We straightened these with a pair of pliers. Otherwise, the holes probably would not have lined up properly.
-
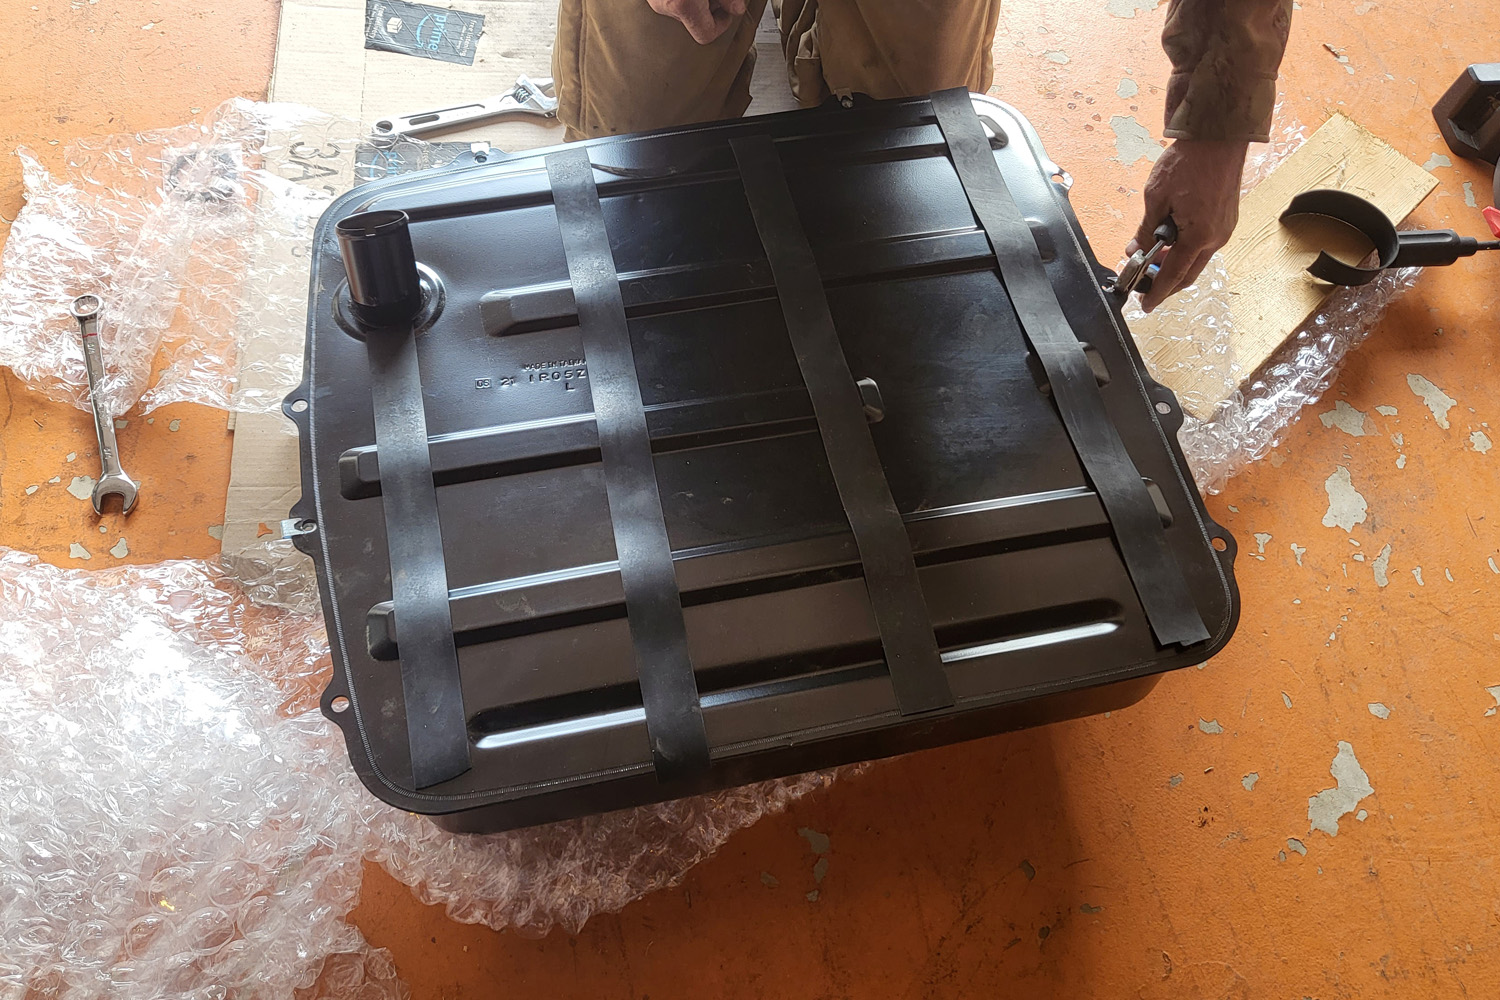
Before putting the tank into the car, assemble the sending unit on the new tank. The sending unit has a couple of non-symmetrical tabs that go into alignment holes on the tank, to ensure you are putting the unit in the correct orientation. Once the gasket and the sending unit are snapped into place, put the locking ring over the sending unit and gently tap it locked with a screwdriver and hammer.
Even though I’m saying gently tap the locking ring, you want to make sure it’s snug and won’t move further. I didn’t get it completely locked into place and ended up with a small leak. The morning after my test drive, I went to the garage to find about 8 oz (250ml) of fuel in the pan I placed under the tank. After I tightened the lock ring a bit further, the drips stopped. The bad part is it’s more effort to work on the sending unit with the tank mounted than when it’s sitting on the work bench in the garage.
-
Cut the rubber strapping into 3 or 4 pieces to run the depth of the tank (front to back). The strapping didn’t have adhesive, so I used some liquid silicone adhesive to hold the straps in place, so that they wouldn’t fall off when mounting. This took about 10 minutes to cure.
-
Put some plumber’s Teflon tape on the drain plug bolt and secure into the tank. The plug may not have a rubber seal. Mine did not, so I scavenged one from my tool chest.
We had an issue with the tank we received. The plug wouldn’t go all the way in and we didn’t want to torque it too hard for fear that the welded nut inside the tank would let loose and ruin the tank. We went to the local True Value hardware store and purchased a 1/2” coarse 13-thread/inch tap set. This tool, gently turned with an adjustable wrench into the drain plug hole, re-cut the threads that were fouled up when the manufacturer painted the tank. Once the threads were cut to fit the bolt, the bolt slotted in fine and we were able to fully plant it in the tank.
-
The replacement tank hardware kit should have 5 metal clips where you will tighten the top bolts into place. Place these over the holes for the top bolts. I suggest to use some masking tape to hold them in place, as these will move a bit when you install the tank and you don’t want to go fishing for them from underneath the vehicle.
-
Time to put the tank in the vehicle. If you’re on your own, you’ll probably want to put it on the board and slowly jack the tank into place. Since Todd was helping, he got on the ground and gently lifted it by hand, while I hand-tightened a couple of the top bolts into place. The tank is bulky, but only weighs about 15 pounds (6kg). An able bodied person should be able to hold it. I used a Phillips screwdriver to center the metal clips for the bolts in the hole, then hand tightened.
-
With the top bolts in place, Todd attached the bottom bolts by hand. Then he reconnected the fuel hose to the pump. Next, attached the wires for the sending unit.
-
From the top, attach the vent hose to the tank. Then, attach the rubber filling hose and tighten the clamps into place.
-
Tighten the 9 bolts firmly, but not torqued into place.
-
The tank is baffled, so you’ll need to use a bit of fuel to test for leaks. The drain plug is in the middle baffle. I put my oil pan under the drain plug and put about half a gallon (2L) in the tank. There was some slight dripping around the plug, so we removed it and used the heavier gas line tape (yellow roll) around the plug and made sure to tighten it a bit more. That appeared to have done the trick as I was able to get 2 gallons (8L) in the tank without a leak.
-
While Todd got back under the tank to finish tightening the bolts with his impact wrench, I popped the hood and removed the old coil. This is a 5 minute task involving removing 2 wires and 2 bolts. Since it’s not germane to the tank replacement, I’m only mentioning it here to remember that I did this.
-
Clean up your work area. Seriously, your mother isn’t here.
The Moment of Truth
It’s a bit underwhelming to say it, but Pearline kicked right over. She sputtered a bit until the fuel from the new tank started feeding, but all appears to be well.
The next step will be to top her off with Premium at the local station and take her on an extended drive. If I end up getting towed home again, there will likely be another post tomorrow.